Upgrading Interior LED Lights

(I arranged the bulbs on a white towel alongside the instructions prior to starting the process. Laying out the instructions allowed me to check them off one by one to make sure no stone was left unturned.)
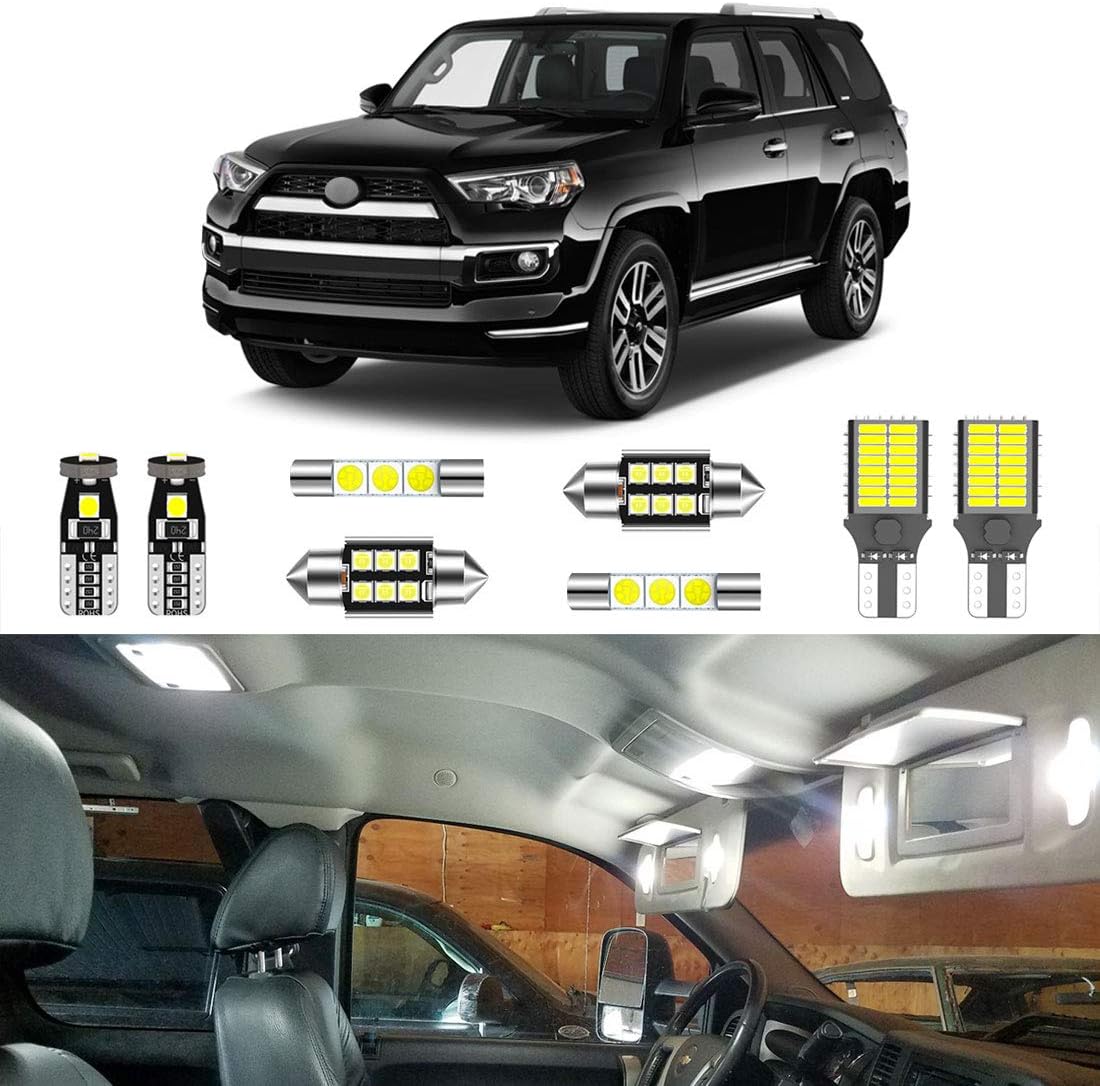
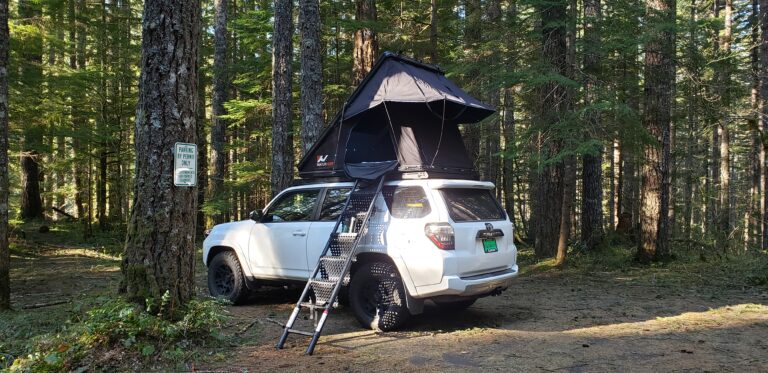
Originally I had intended on purchasing a more expensive set but opted to buy these since it was under $30 and achieved what I had intended on doing….make the interior brighter so that it is easier to maneuver around at night. We have often gotten to a campsite and night only to realized that we needed headlamps just to dig around inside the cabin for items.
How to Upgrade the Interior LED Lights in a Toyota 4Runner to LED
Upgrading the interior lights in your Toyota 4Runner to LED is a simple and effective way to improve visibility and enhance the overall look of your vehicle’s cabin. LED lights are brighter, more energy-efficient, and last significantly longer than stock halogen bulbs. This guide will walk you through the installation process step-by-step, including key tips to avoid common issues, such as dropping the reverse light and fixing bent map light connections.
Tools and Materials Needed
- LED light kit (such as this one)
- Trim removal tool and a small headed flat blade screwdriver
- Needle-nose pliers
- Gloves (optional, but recommended to keep oils off the bulbs)
- A towel or small rag (to catch any dropped bulbs)
Step 1: Replacing the Map Lights
The map lights are located in the overhead console. These can be tricky because the metal connectors may get bent during removal.
- Use a trim removal tool or a flathead screwdriver to gently pry off the clear plastic cover.
- Carefully pull out the stock halogen bulbs.
- Check the connectors: Sometimes, the metal prongs inside the map light housing get bent, preventing proper contact. If your new LED bulbs don’t turn on, take a pair of needle-nose pliers and gently bend the connectors back into place.
- Insert the new LED bulbs, ensuring they are properly seated.
- Test the lights before snapping the cover back on.
Step 2: Replacing the Dome Light
The dome light is located in the center of the ceiling and provides general illumination. This is VERY important…if you have to apply force to get the bulb out, be sure to take some needle nose pliers to bend the prongs for the bulb holders back in place. I inadvertently bent them and found they would go out after closing the car door hard.
- Use your trim tool or flathead screwdriver to carefully pry off the plastic cover.
- Pull out the factory halogen bulb.
- Insert the LED bulb, making sure it fits securely.
- Test the new LED before replacing the cover.
Step 3: Replacing the Door Courtesy Lights
The door courtesy lights are located at the bottom of each door panel and illuminate the ground when the door is opened.
- Pry the lens cover off with your trim tool.
- Remove the halogen bulb and replace it with an LED.
- Test the light before snapping the lens cover back on.
Step 4: Upgrading the Cargo Area Light
The cargo light helps illuminate the rear storage area, making it easier to find things at night.
- Pry off the lens cover using your trim tool.
- Remove the existing halogen bulb and insert the LED bulb.
- Test the light before replacing the lens cover.
Step 5: Replacing the Reverse Light (Avoid Dropping It!)
The reverse light can be tricky because it’s easy to drop the bulb into the housing. To prevent this:
- Lay a small towel or rag inside the light housing before removing the bulb. This will catch the bulb if it slips.
- Carefully twist the old bulb out and remove it.
- Insert the LED bulb and ensure a snug fit.
- Test before putting everything back together.
I actually had to take the taillamp off and use a vacuum cleaner to suck out the old lightbulb. It was not all that painful thanks to the following video. https://www.youtube.com/watch?v=fLpIZjM7z_g
Final Checks & Troubleshooting
- If an LED bulb doesn’t turn on, flip it 180 degrees (LEDs are polarity-sensitive).
- If the map lights aren’t working, check the metal prongs and bend them slightly with needle-nose pliers to improve contact.
- Test all lights before reinstalling covers to avoid repeated removals.
Interior LED Lights Install
Upgrading your Toyota 4Runner’s interior led lights is a simple and worthwhile project that greatly improves visibility and modernizes your cabin. With the right tools and careful handling, you can complete this installation in under 60 minutes. Enjoy your new, brighter interior!
Some people can replace them a lot quicker than 60 minutes but for me I did not have a lot of garage space and tools were spread out in a few different places.
As a note, I was left with three interior LED lights. The glove box did not have a light in it despite the instructions and others saying there would be. Also foot area lights….not there despite what a lot of people have said and what I had read online.🚙💡
Check out some of my other mods to my vehicle and misc. product reviews.
https://pnwoverlandadventures.com/gear-product-reviews/


