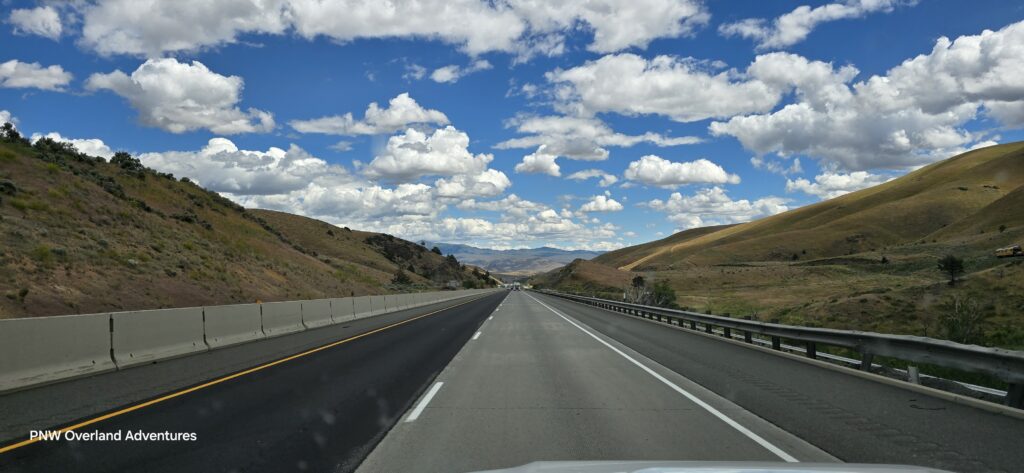
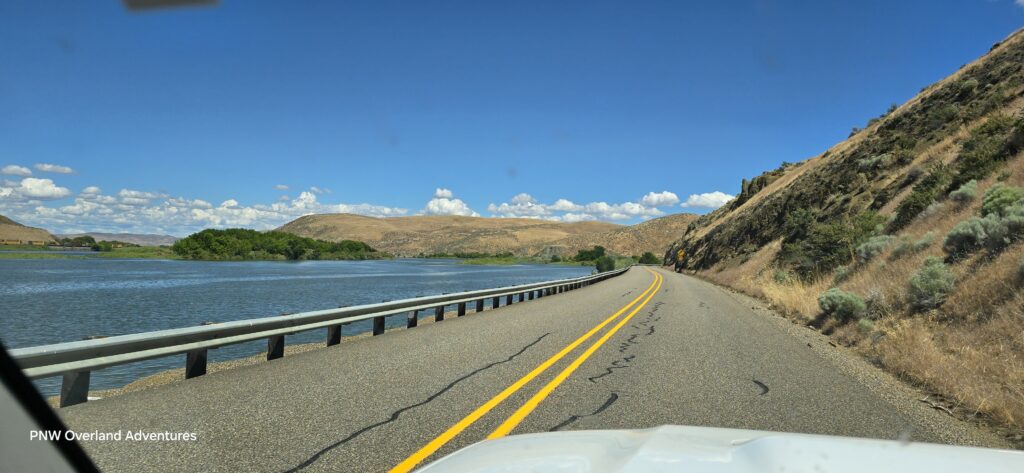
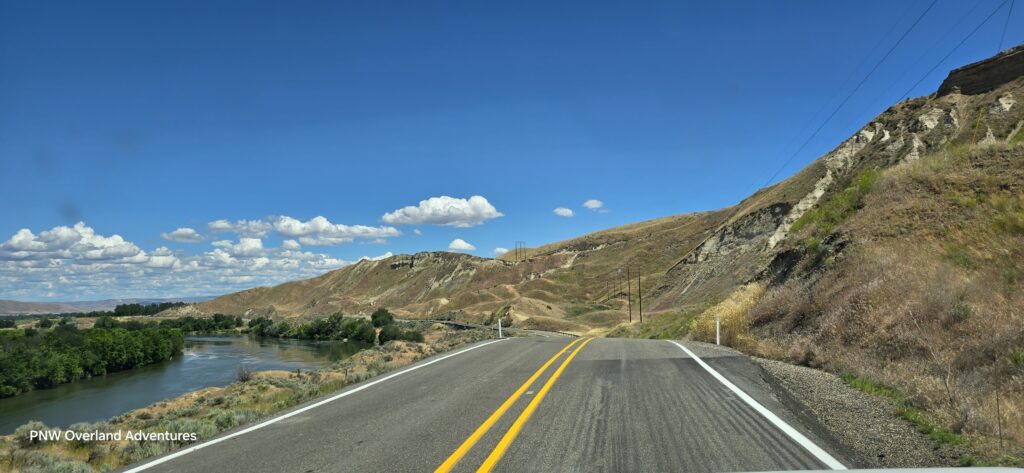
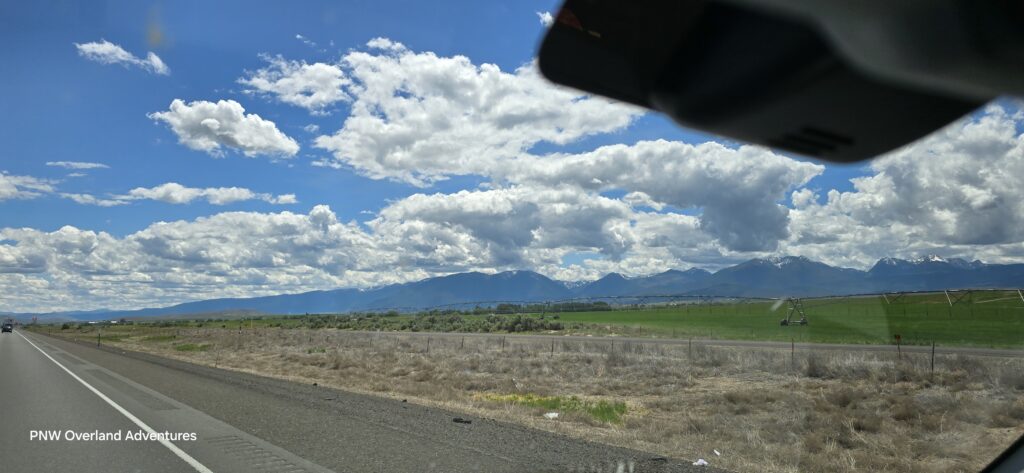
Relaxing at Goose Lake Idaho
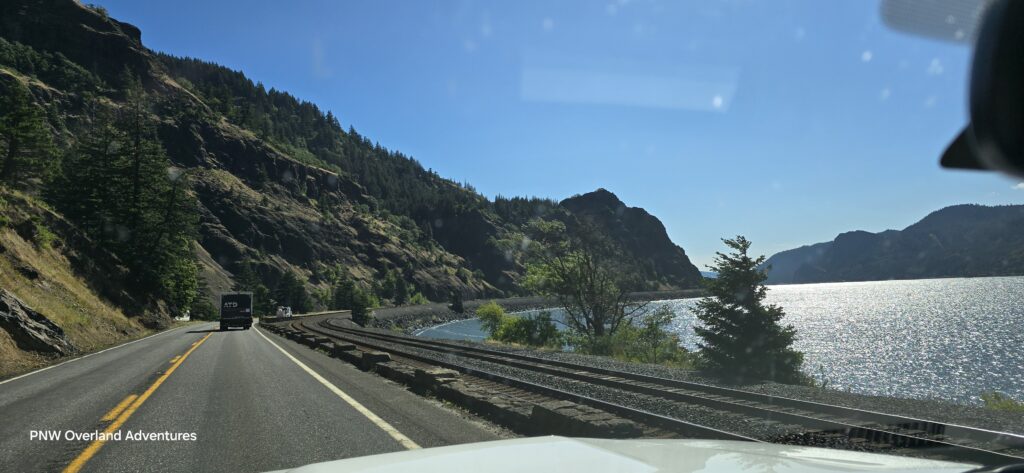
After traveling from Camas, WA to Goose Lake, Idaho, my fishing buddy and I set up camp. The who, what, when, and where were completed as follows.
Tent Setup
Based on how and what my 4Runner is loaded with, I chose to set up the tent first and foremost. This allowed me to empty a portion of the load and reallocate it into the tent—pillows, blankets, sheets, and minor electronics to use with the LED light strip. It also allowed me to take out the ladder, which is not necessarily bulky but does get in the way while pulling out other gear. Having the tent ready early made organizing the rest of the camp much easier. Setting up an efficient sleeping space early on also meant we could quickly settle in when the night fell.
Kitchen Setup
I have a small folding table, a couple of 6-gallon water storage containers, two coolers (covered in an earlier post), an old Coleman camping stove (a newer version of the classic), a few folding crates from Costco, and a few other miscellaneous items. While this did not fully empty the cargo area, it did remove a majority of the items that were not necessarily needed while out and about. With everything laid out, we had a great prep and cooking station ready for meals throughout our trip. Organizing the kitchen area efficiently is essential for overlanding, ensuring everything is within easy reach while keeping the setup compact.
Luckily the area we were camping at Goose Lake Idaho had plenty of trees to hang backs from as well
Electronics & Lighting
Okay, camping should not necessarily need electronics, but the reality is that a lot of the gear I have is rechargeable—lantern, headlamps, a USB lipstick battery for LED lights, etc. Since the sun was still out when we set up, I chose to break out the lantern as it has a small solar panel on top and can double as a battery for charging other devices. Having reliable lighting makes a big difference once the sun sets, and it’s always great to have backup power sources. Additionally, I brought a small power bank that could recharge both my phone and GPS, ensuring we had connectivity in case of emergencies which is also used for my wife’s CPAP.
Exploring & Relaxing at Goose Lake Idaho
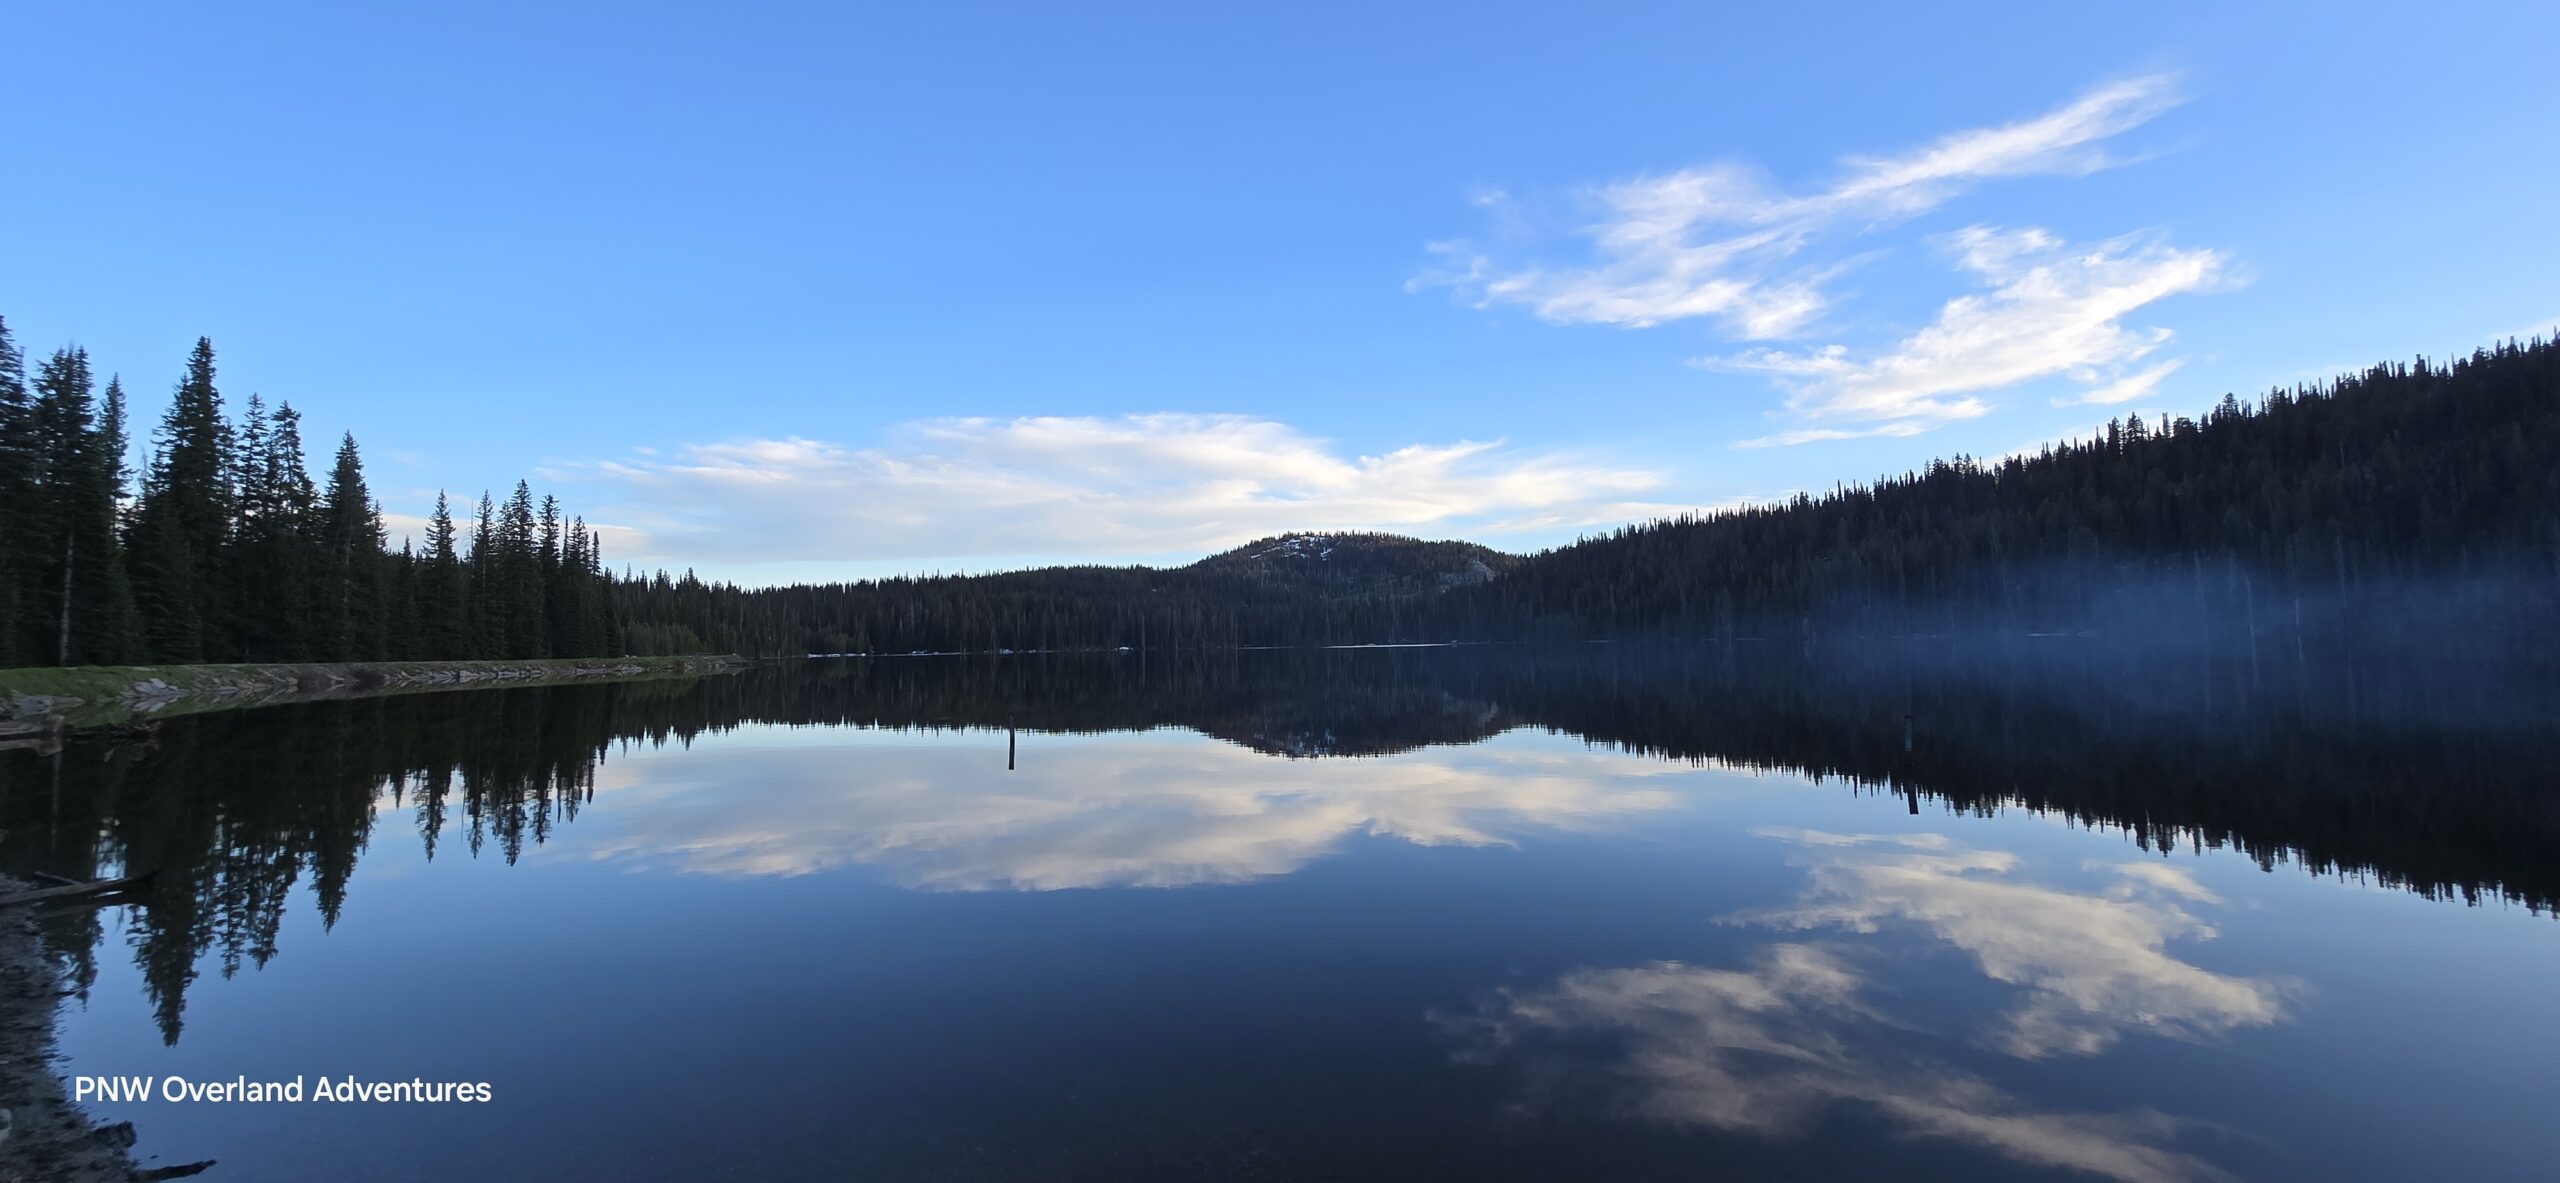
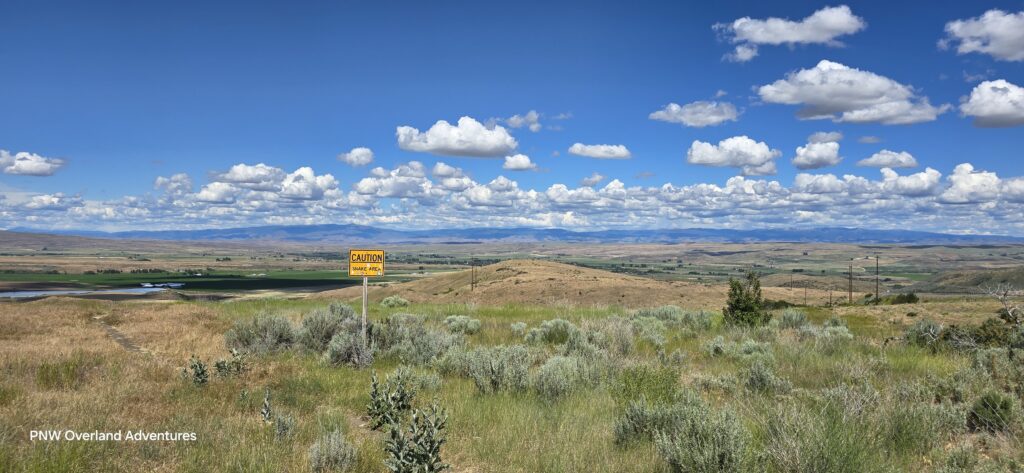
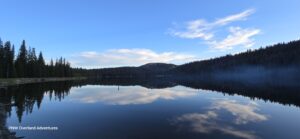
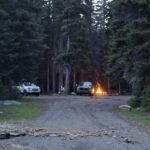
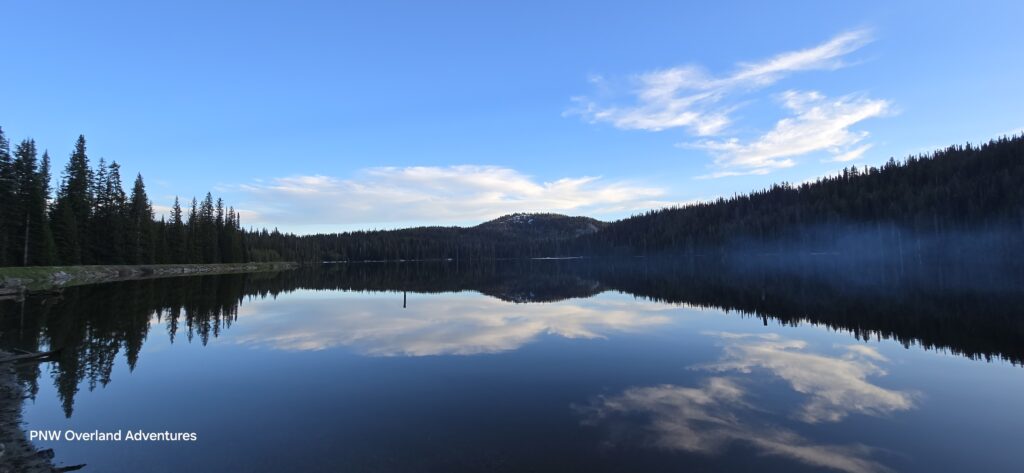
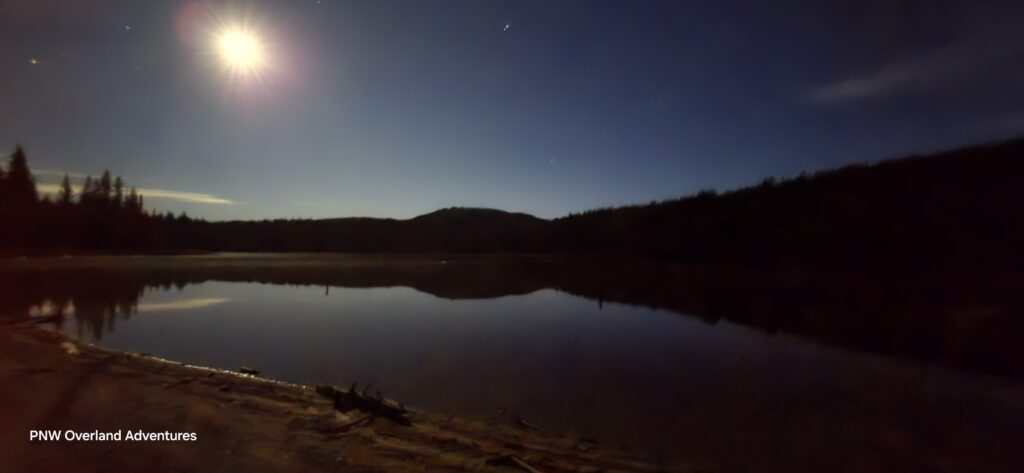
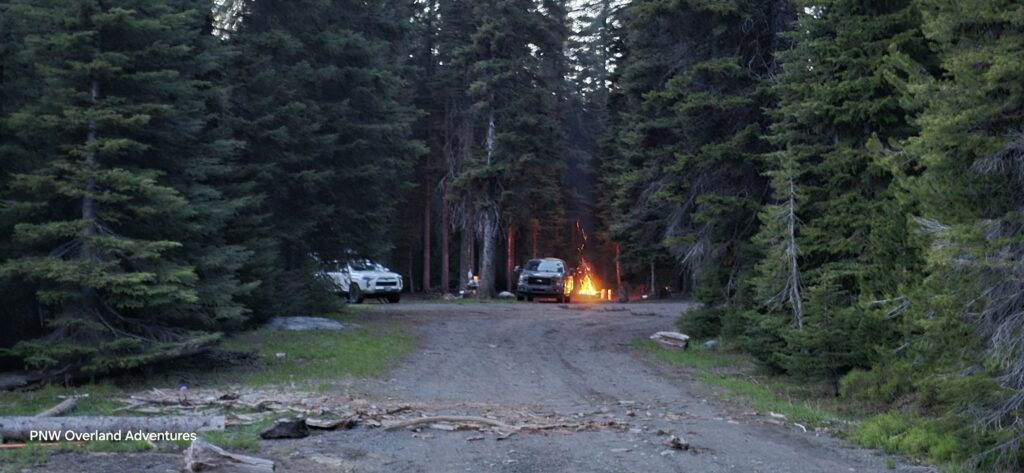
Once we set up, there was time to explore around the local area, start a fire, and relax after hours of driving. We had a great setup near the lake, just 20-30 feet away from the water, and directly on a limited-access road that led to a fantastic six-mile trail. As the sun set and the moon rose, I was able to capture a stunning nighttime photo of the lake, perfectly complementing the daytime shot I had taken earlier. The peaceful surroundings and the beautiful scenery made for an incredible start to our trip.
Additional Overlanding Tips
When setting up camp in remote locations, it’s crucial to follow Leave No Trace principles. We ensured that all waste was properly disposed of in designated areas and minimized our impact on the surroundings. Another important aspect is water filtration—I used my filters bought at REI for filtering lake water, reducing the need to carry excessive amounts of water while overlanding.
Recommended Camping Items
- Tent & Sleeping Gear – A durable roof top tent or one for the ground with a sleeping pad/based, sleeping bag, and pillow for comfort.
- Cooking Essentials – Portable stove, fuel, lightweight cookware, utensils, and food storage.
- Water & Filtration – Refillable water containers and a reliable water filter like the Sawyer Squeeze. I use some Igloo 6 gallon water containers with spouts.
- Lighting & Power – Headlamps, lanterns, and a portable power bank for charging devices.
- Emergency & First Aid – First aid kit, multi-tool, fire starter, and a GPS device.
- Washington Back Country Discovery Route

Washington Backcountry Discovery Route (WABDR): The Ultimate Overland Adventure
The Washington Backcountry Discovery Route (WABDR) is a legendary overland adventure, stretching over 600 miles from the Oregon border to Canada. Designed for 4WD vehicles, adventure motorcycles, and off-road enthusiasts, this route takes travelers through some of Washington’s most stunning and remote landscapes. From rugged mountain passes and dense evergreen forests to vast high-desert plains and scenic river valleys, the WABDR offers an unforgettable experience for those seeking off-grid exploration and adventure.
Route Overview
The WABDR begins at the Bridge of the Gods in Cascade Locks, Oregon, and winds its way north through six sections before reaching the Canadian border near Nighthawk, WA. Each section presents unique challenges, terrain types, and scenic highlights, making the journey diverse and exciting.
Key Sections of the WABDR:
- Section 1: Cascade Locks to Packwood – Winds through Gifford Pinchot National Forest, featuring lava fields, river crossings, and dense woodlands.
- Section 2: Packwood to Ellensburg – A mix of high-altitude ridges and challenging switchbacks, with breathtaking views of Mount Rainier.
- Section 3: Ellensburg to Cashmere – Crosses the Wenatchee Mountains, offering spectacular overlooks and a variety of off-road challenges.
- Section 4: Cashmere to Chelan – One of the most scenic sections, featuring steep climbs and the stunning Chelan Mountains.
- Section 5: Chelan to Conconully – Transitions from forested trails to the high-desert plains, showcasing a different side of Washington’s landscape.
- Section 6: Conconully to Nighthawk – The final stretch to the Canadian border, offering rolling hills and remote backcountry camping spots.
Best Time to Travel
The WABDR is best traveled between July and October when the snow has melted from higher elevations. Early-season travelers may encounter lingering snowfields and washed-out trails, while late-season trips provide crisp air and beautiful fall colors.
Vehicle & Gear Recommendations
Since the WABDR includes technical off-road sections, having the right vehicle and gear is crucial for a safe and enjoyable experience.
Recommended Vehicles:
- 4WD with Low Range (Toyota 4Runner, Jeep Wrangler, Tacoma, etc.)
- Dual-Sport or ADV Motorcycles (KTM, BMW GS, Honda Africa Twin, etc.)
- Overland-Equipped SUVs and Trucks with lift kits, skid plates, and all-terrain tires
Essential Gear:
- Navigation Tools: GPS with offline maps, paper maps, compass
- Recovery Equipment: Winch, tow straps, traction boards, shovel
- Camping Gear: Rooftop tent, sleeping bags, cooking supplies
- Emergency Supplies: First-aid kit, satellite communicator (Garmin inReach), extra fuel, spare tires
Camping & Accommodations
One of the highlights of the WABDR is the opportunity for remote, dispersed camping along the route. Washington offers numerous designated camping areas, backcountry sites, and scenic pull-offs where overlanders can set up camp under the stars.
Top Camping Spots Along the WABDR:
- Takhlakh Lake Campground – Near Mount Adams with stunning alpine views.
- Bethel Ridge – A high-elevation camping spot with breathtaking sunrises.
- Lake Chelan Overlooks – Remote, scenic camp spots with lake views.
- Conconully State Park – A great place to relax near the end of the route.
Challenges & Safety Tips
The WABDR is not for the faint of heart—it requires preparation, off-road driving skills, and self-sufficiency.
Challenges You May Face:
- Unpredictable Weather – Rapid changes from sun to rain or snow.
- Steep, Rocky Terrain – Requires good clearance and driving technique.
- Water Crossings & Washouts – Some sections may require reroutes.
- Remote Locations – Limited cell service; always carry a satellite communicator.
Safety Tips:
- Travel with a group or notify someone of your plans.
- Carry extra fuel and water in case of emergencies.
- Check trail conditions before departure, as washouts are common.
- Respect Leave No Trace principles to keep the WABDR clean and open for future travelers.
Final Thoughts
The Washington Backcountry Discovery Route is a bucket-list adventure for overlanders, motorcycle riders, and off-road explorers alike. Whether you’re seeking epic scenery, technical off-roading, or a multi-day backcountry experience, the WABDR delivers an unforgettable journey through Washington’s most remote and rugged landscapes. Pack your gear, prep your rig, and get ready to explore the PNW like never before!
Plan Your Trip!
- Download GPX Tracks & Trail Maps
- Check Real-Time Trail Conditions
- Connect with the Overlanding Community
🚙🏕️🌲 #WABDR #OverlandAdventure #PNWBackroads
https://ridebdr.maps.arcgis.com/apps/webappviewer/index.html?id=c7e559fa199d448485a6e2e1e45e0f3d
- Traveling to Payette National Forest


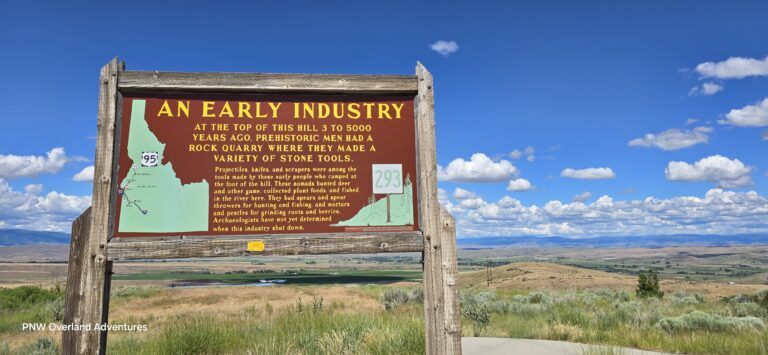
A friend and I get together a few times a year and opted to meet “halfway” to camp. The “halfway” point was really an additional hour for both of us since I was coming from the Portland, OR area; he was coming from the Salt Lake City, UT area. The half way point being Payette National Forest.
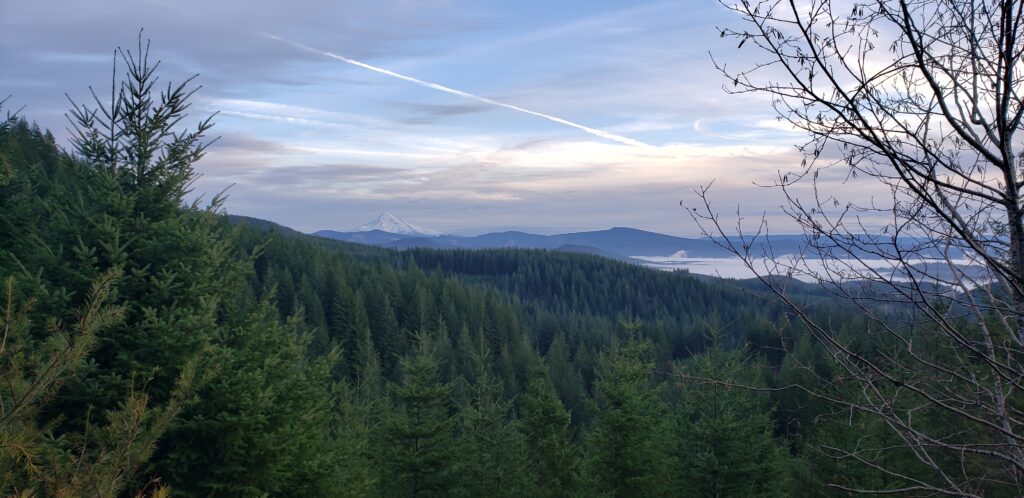
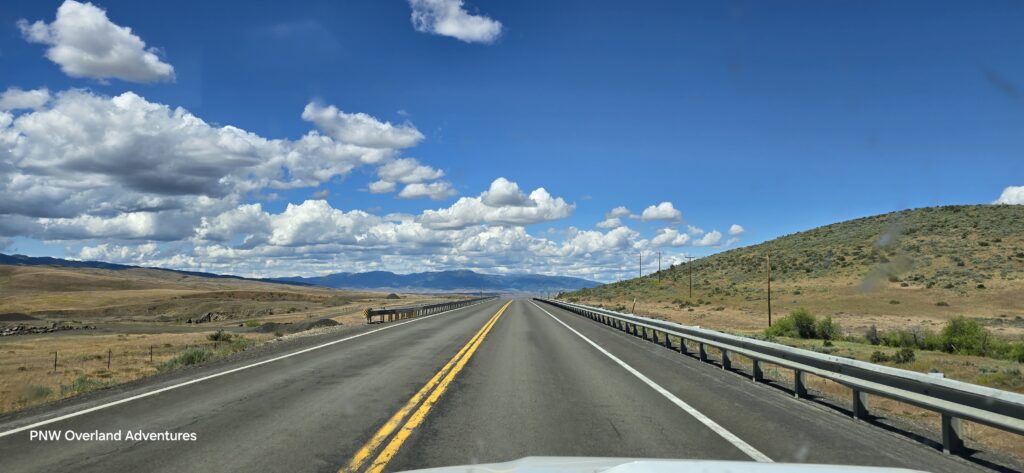
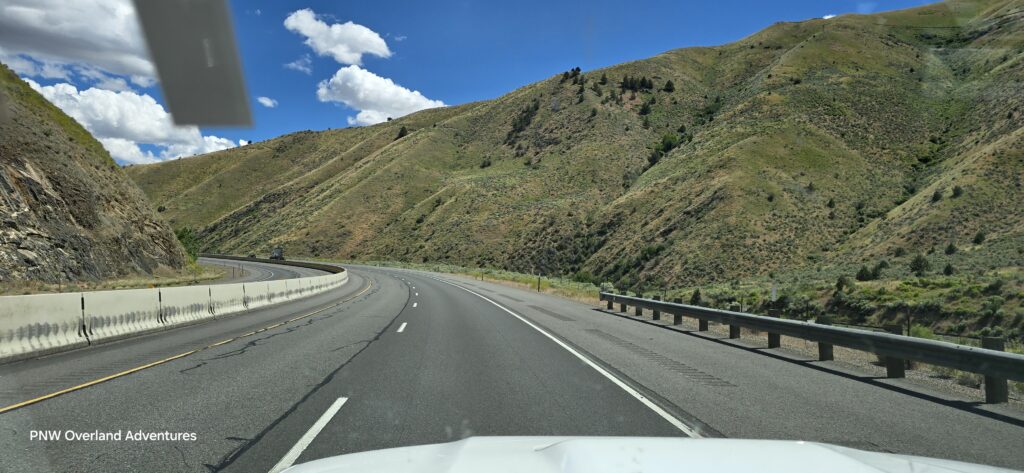
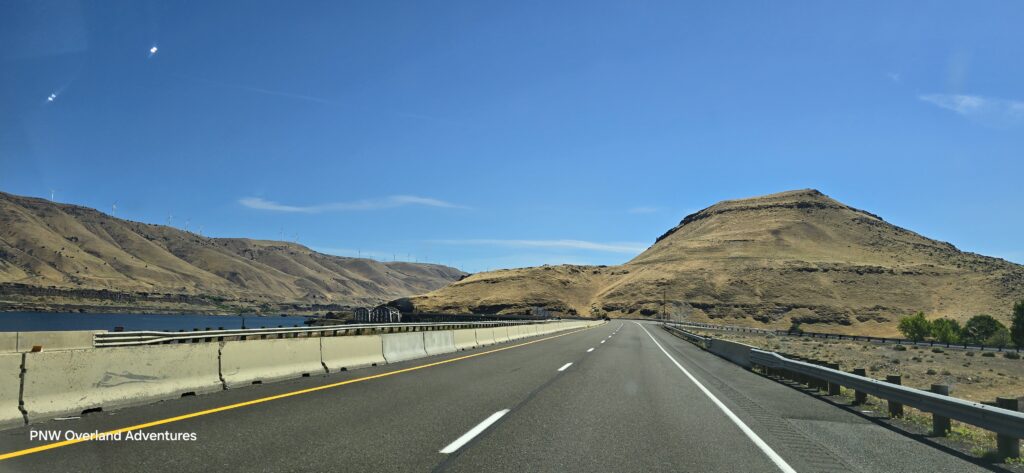
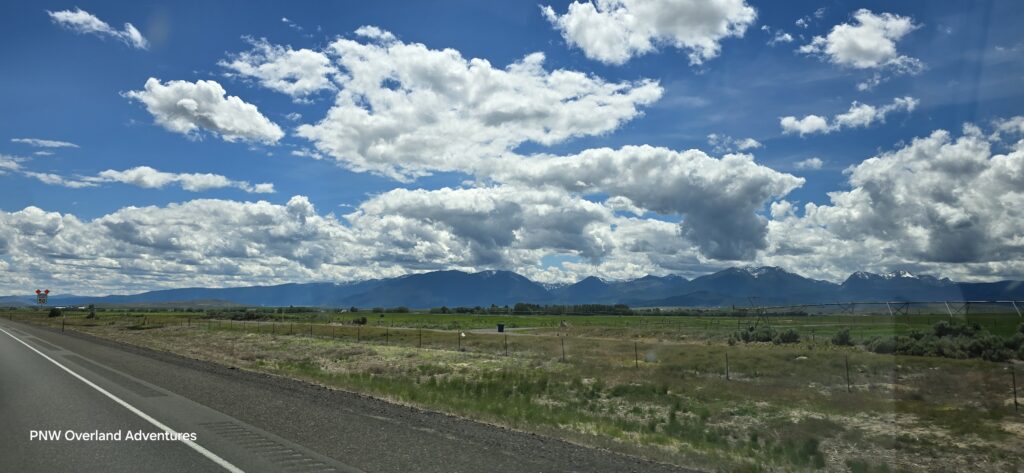
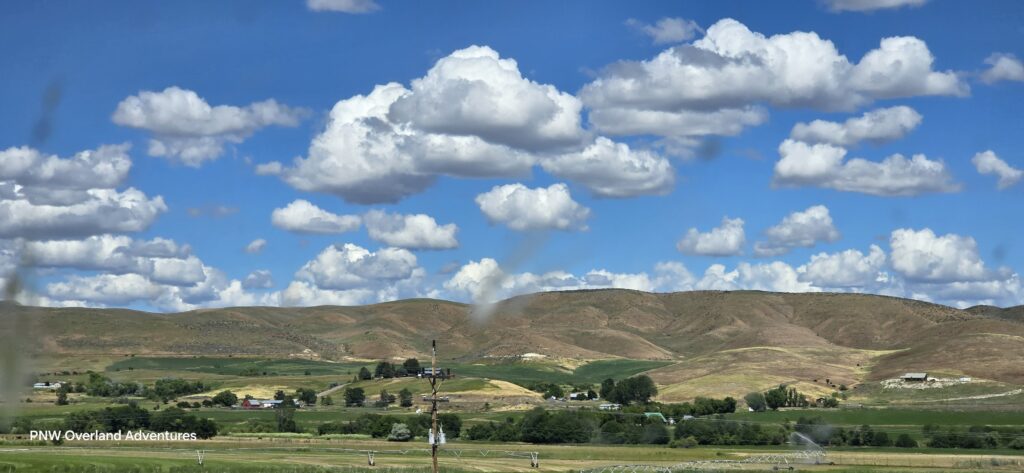
The start of my trip was rich in greens and tall trees as the humidity and other waters in the air are dumped from the atmosphere since the Cascade Mountain range stops forward progress. It was interesting to see how drastically the environment changed from lush to dry, both being beautiful in their own right.
This was to be the first long distance trip in the 4Runner, using a new cooler and method of keeping ice, and a longer than normal trip.
I’ve read on a few sub-Reddits that the 4Runner is not really comfortable for long distance trips, loud when traveling down the road, and has crappy gas mileage. I found that it was in fact very comfortable, enough so that I didn’t need to stop half-way. Although I did stop half-way as well as a few others while headed to Idaho….couldn’t stop myself from checking a few roadside places fwiw. I can’t really say if the seat material had a significant impact on performance if I were to compare it to a 4Runner with cloth seats, at least apples to apples. I have driven my Subaru Outback with cloth seats and do believe that the Softex material in the 4Runner is more comfortable, albeit it could also be that the 4Runner is 10 years newer, being a 2023. I was pleasantly surprised with the overall atmosphere in the 4Runner, maintained temp well enough and cockpit layout is great. Everything was easily accessible and intuitive when driving; I did not have to second guess where a dial or button was or had to fiddle with radio or air conditioning. As far as road noise was concerned, it was noisy to a degree. It did not help that the roof rack and rooftop tent made a loud whistling sound when traveling at almost any speed. I believe that this is due in part to the fact that air is being forced through the fairing underneath the tent. I had originally purchased the fairing with a cutout for a light bar and believe that the noise will go away when I put in a light bar or put something like a pool noodle between the roof rack and roof top tent just right behind the fairing. The tires, BFGoodrich All-Terrain T/A KO2’s. Yes they are noisy but not overly so. Obviously they are not road tires; they are all terrain with an aggressive tread. With that in mind, I found them to be good highway tires with exceptional off road capabilities. I will say this though….the whistling from the roof rack and roof top tent was way worse the than tires.
For the past few months, I have used a traditional Igloo cooler, much like the 48 quart Laguna ice chest. It has okay ice retention and certainly did not have thick walls. After a 2 day camping trip, I would end up with very cold water; cold enough to be assured that the food would not spoil but a sad performance. It is worth saying that if the food in the cooler were not properly sealed it would be ruined. After reviewing a few Youtube videos, I ran across one on Playing With Sticks’ YT Channel. This video helped me realize how little I knew when it came to keep a cooler in peak performance.
This video helped teach me nine VERY important lessons, 9 Mistakes EVERY new camper makes with their COOLER. All of which I will discuss in the following list.
- Pre cool the cooler: I’ve never done this before. However, it makes perfect sense that you would want to pre cool it to not waste precious cooling power/energy taking the cooler down to a temp to longer sustain ice. Why start with a warm cooler and lose hours of ice cooling it off.
- 2 Parts Ice to 1 Part Food: Again, something I have not done before. I’ve tried for a 1:1 ratio or more ice than food but plenty of wasted space in the cooler. One of the things that I did with the 2:1 ratio is freeze foods which counts as ice…two birds, one stone.
- Draining: Keep ice melt for as long as possible until you are able to replace it with ice. Water is denser than air and therefore takes longer to warm up.
- Opening excessively: Avoid from opening the cooler excessively by keeping a two cooler system. If you separate out the items which spoil into a cheaper yard sale cooler. The other benefit is that you can consolidate the smaller to larger cooler so that air space is reduced.
- Prep food beforehand: take off excessive packaging, move to resealable bags, and freeze the items that you intend on using later in the trip. Frozen food can be the ice it as a flat as possible for insulation.
- Pre cool all items.
- Use blocks of ice: It lasts longer then ice cubes. I can vouch for this since i had ice blocks left over after the four days. Layer it as follows
- Ice blocks and/or froze food.
- Layer of food
- Layer of ice as thick as the food.
- Layer of food.
- Layer of ice as thick as the food.
- Artificial ice blocks or wet on top of another layer of ice.
- Free roaming ice: perfectly fine to keep it free range. However, it is good to put some in plastic bags for drinking later. I found that this allows you to move bags of ice out of the way to get foods out of the cooler.
- Cooler and heat or sun: Keep the cooler out of the sun or a hot car at all times. While I had a couple of instances where I failed to abide by this, I believe that using the above steps saved my food and ice. Keep in a controlled temp vehicle and in the shade…not in the sun, on top of a picnic table, or on the back of a hitch trailer, if at all possible. I can definitely see how the new cooler helped too.
The new cooler. I did not over this until now because I found it to be a game changer and certainly a welcomed addition to my camping gear. I bought the Lifetime 55 Quart High Performance Polyethylene Cooler in grey. Walmart had a few colors of the Lifetime, two of which were darker in color. Based on my experience with darker colors and sun/heat, I found it beneficial to go with the grey….which is why I have it linked instead of others. The quality of cooler used is night and day different than my original cooler. The latches on it allow me to fill the cooler to the top and close it without having to force it latched. It also has a rubber gasket around the lid so that when it seals I can be assured that it is not letting out the cooler, ice, or water. (It is also satisfying to hear the lid force itself down and items in the cooler shift to accommodate the compaction.)
- Relaxing at Goose Lake Idaho


After traveling from Camas, WA to Goose Lake, Idaho, my fishing buddy and I set up camp. The who, what, when, and where were completed as follows.
Tent Setup
Based on how and what my 4Runner is loaded with, I chose to set up the tent first and foremost. This allowed me to empty a portion of the load and reallocate it into the tent—pillows, blankets, sheets, and minor electronics to use with the LED light strip. It also allowed me to take out the ladder, which is not necessarily bulky but does get in the way while pulling out other gear. Having the tent ready early made organizing the rest of the camp much easier. Setting up an efficient sleeping space early on also meant we could quickly settle in when the night fell.
Kitchen Setup
I have a small folding table, a couple of 6-gallon water storage containers, two coolers (covered in an earlier post), an old Coleman camping stove (a newer version of the classic), a few folding crates from Costco, and a few other miscellaneous items. While this did not fully empty the cargo area, it did remove a majority of the items that were not necessarily needed while out and about. With everything laid out, we had a great prep and cooking station ready for meals throughout our trip. Organizing the kitchen area efficiently is essential for overlanding, ensuring everything is within easy reach while keeping the setup compact.
Luckily the area we were camping at Goose Lake Idaho had plenty of trees to hang backs from as well
Electronics & Lighting
Okay, camping should not necessarily need electronics, but the reality is that a lot of the gear I have is rechargeable—lantern, headlamps, a USB lipstick battery for LED lights, etc. Since the sun was still out when we set up, I chose to break out the lantern as it has a small solar panel on top and can double as a battery for charging other devices. Having reliable lighting makes a big difference once the sun sets, and it’s always great to have backup power sources. Additionally, I brought a small power bank that could recharge both my phone and GPS, ensuring we had connectivity in case of emergencies which is also used for my wife’s CPAP.
Exploring & Relaxing at Goose Lake Idaho
Once we set up, there was time to explore around the local area, start a fire, and relax after hours of driving. We had a great setup near the lake, just 20-30 feet away from the water, and directly on a limited-access road that led to a fantastic six-mile trail. As the sun set and the moon rose, I was able to capture a stunning nighttime photo of the lake, perfectly complementing the daytime shot I had taken earlier. The peaceful surroundings and the beautiful scenery made for an incredible start to our trip.
Additional Overlanding Tips
When setting up camp in remote locations, it’s crucial to follow Leave No Trace principles. We ensured that all waste was properly disposed of in designated areas and minimized our impact on the surroundings. Another important aspect is water filtration—I used my filters bought at REI for filtering lake water, reducing the need to carry excessive amounts of water while overlanding.
Recommended Camping Items
- Tent & Sleeping Gear – A durable roof top tent or one for the ground with a sleeping pad/based, sleeping bag, and pillow for comfort.
- Cooking Essentials – Portable stove, fuel, lightweight cookware, utensils, and food storage.
- Water & Filtration – Refillable water containers and a reliable water filter like the Sawyer Squeeze. I use some Igloo 6 gallon water containers with spouts.
- Lighting & Power – Headlamps, lanterns, and a portable power bank for charging devices.
- Emergency & First Aid – First aid kit, multi-tool, fire starter, and a GPS device.
- St. Cloud Recreation Area
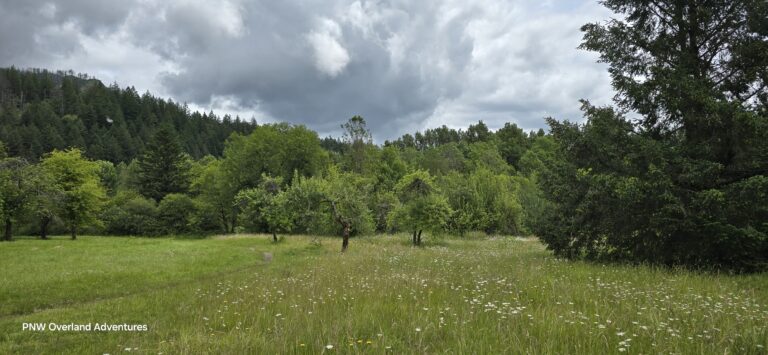
 Discovering St. Cloud Recreation Area: A Hidden Overlanding Gem in the Pacific Northwest For overlanders and outdoor enthusiasts exploring the scenic byways of the Pacific Northwest, finding the perfect spot for a quick break can make all the difference in the journey. Nestled along Washington State Route 14, the St. Cloud Recreation Area provides an excellent respite from the road. This small but charming park offers a tranquil escape featuring wildflower-filled fields, fruit trees, and a peaceful path leading to the Willamette River. Whether you’re looking for a place to stretch your legs, have a quick picnic, or simply enjoy nature, St. Cloud Recreation Area is a must-stop location for adventurers traversing the Columbia River Gorge.
A Scenic Stop Along Highway 14
Overlanders traveling through the Columbia River Gorge know that this region is filled with breathtaking vistas, winding roads, and endless opportunities for adventure. St. Cloud Recreation Area, located just off Highway 14, is a hidden gem that offers a quiet retreat from the drive. The park features a well-maintained looped walking path that meanders through lush meadows, blooming wildflowers, and remnants of an old orchard, making it a picturesque spot to take a short hike or enjoy a nature walk. For those who appreciate the small, often overlooked stops on an overlanding journey, St. Cloud provides an ideal mix of accessibility and natural beauty. Unlike some of the more crowded parks in the region, this area remains relatively quiet, offering a more relaxed atmosphere to recharge before continuing your adventure.Exploring the Trails and River Access
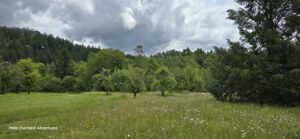
One of the highlights of St. Cloud Recreation Area is its easy, family-friendly trail. The looped path is well-maintained and provides a leisurely stroll through fields dotted with seasonal wildflowers. Spring and early summer bring vibrant bursts of color as lupine, balsamroot, and Indian paintbrush bloom along the trail. Birdwatchers will also appreciate the variety of songbirds that frequent the area, making it an excellent spot for a peaceful wildlife encounter. For those wanting to stretch their exploration a little further, a small path leads from the main loop down to the Willamette River. This river access offers a serene moment to take in the flowing water, skip stones, or simply sit and enjoy the tranquility of the area. While it may not be the best spot for full-on water activities, it’s perfect for a quiet reflection and a break from the hustle of the road.Picnic Areas and Amenities
One of the key conveniences of St. Cloud Recreation Area is its well-placed picnic areas. Upon arrival, visitors will find a couple of picnic tables near the entrance of the park, offering a comfortable spot to enjoy a packed meal. Further along the trail, another table is available, complete with a grill—perfect for those who want to cook up a quick lunch while on the road. Whether you’re stopping for a light snack or firing up the grill for a more substantial meal, this park provides a great spot to rest and refuel. Another major plus for overlanders is the presence of clean and accessible restrooms. The park’s restroom facilities are well-maintained, stocked with toilet paper, and mobility-impaired accessible, making them a great stop for anyone needing a quick restroom break while on the road. Additionally, there is a conveniently placed trash can, allowing visitors to dispose of small amounts of waste responsibly, helping keep the area pristine for future travelers.Why Overlanders Should Stop Here
Overlanding is about more than just the journey—it’s about the experiences and small moments along the way. St. Cloud Recreation Area embodies this spirit, offering travelers a chance to connect with nature, enjoy a moment of solitude, and appreciate the beauty of the Pacific Northwest. Its accessibility, peaceful surroundings, and practical amenities make it an excellent stop for anyone traveling through the Columbia River Gorge. For those planning an overlanding trip through Washington’s scenic backroads, be sure to mark St. Cloud Recreation Area on your map. It’s a place where you can rest, recharge, and take in the quiet beauty of the wild before hitting the road again. Happy travels!goose lake daylight shot - Big Lookout Park
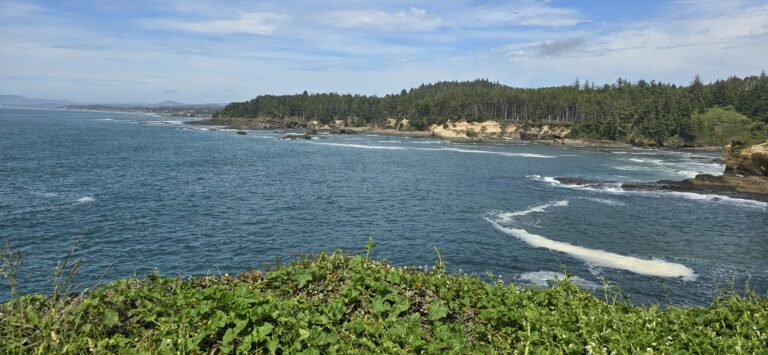
 Part of the adventuring in the Pacific Northwest is taking the time out to walk along and take a look at The sites as you drive up and down Pacific Coast Highway 101. We happen to find this great little park called Big Lookout just right off Highway 101,which made it oh so exceptional to just stop and take a break.We try to make it out to the coast at least a few times every for or 5 months. One of the nice things about coming out here is that there is a significant temperature difference between that and the Portland area as well as those within the mountains. There’s different Flora and fauna that are out here a lot of witches unique to the Oregon coast. One of the nice things about this part of the area are waterfalls cascading into the ocean.
goose lake daylight shot
